The grade book contains your grading system, grade calculations, grade scheme, grade items, view and display options. Brightspace grade book can be used to communicate grades for assignments, tests and participation. Read more about this on the Brightspace Grades Page.
If you are using the grade book for the first time, the most ideal way to set it up is to use the Grades Setup Wizard (as described below). None of the settings in the wizard are permanent. You can always come back and change them later, if needed.
If you have not setup your grade book before, you will be taken to the Grades Setup Wizard the first time when you enter grades for a course. On the navigation bar click Grades and then click on Setup Wizard.

At first you will see the current grade book settings. Scroll down and click on Start.
There is the choice to select a Weighted grading scheme, Points or Formulas. You can also look at the examples under these options to understand more how these grading systems work.
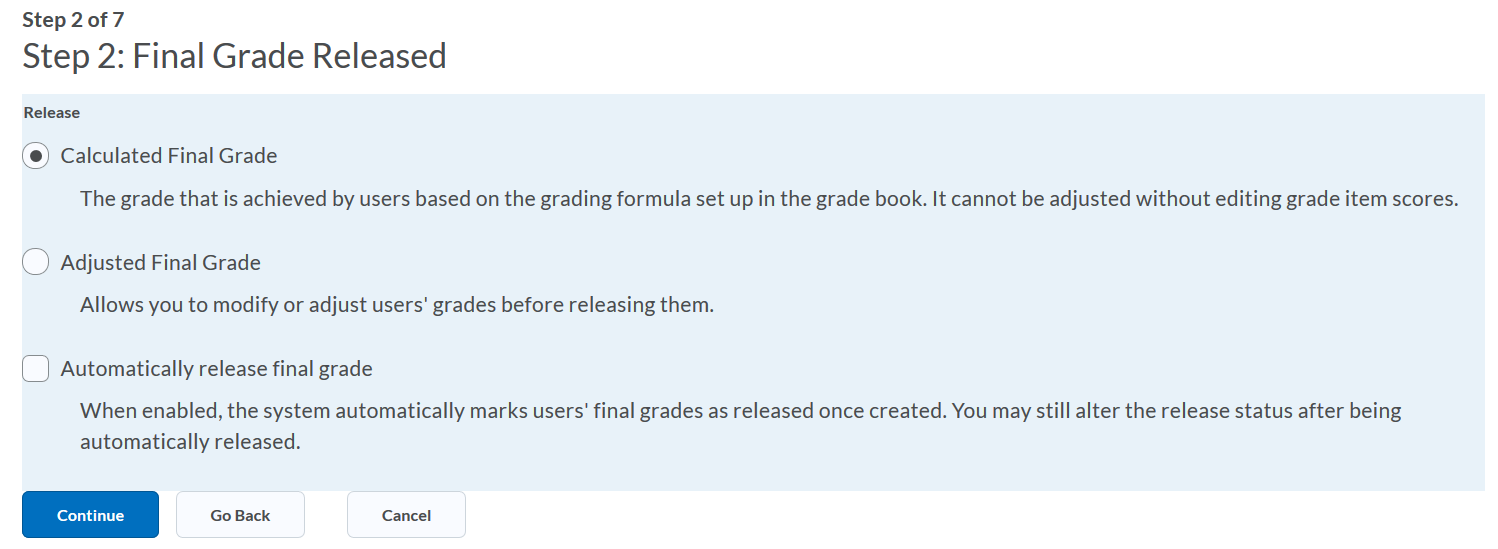
In the second step, the default setting is to use the Calculated Final Grade. This will calculate the final grade based on the grading formula setup, it cannot be adjusted without editing grade item scores.
The Adjusted final grade can be useful in situations where the students’ grades are modified before they are released. For example, you might need to fine-tune and adjust some of the grades up or down before they are released.
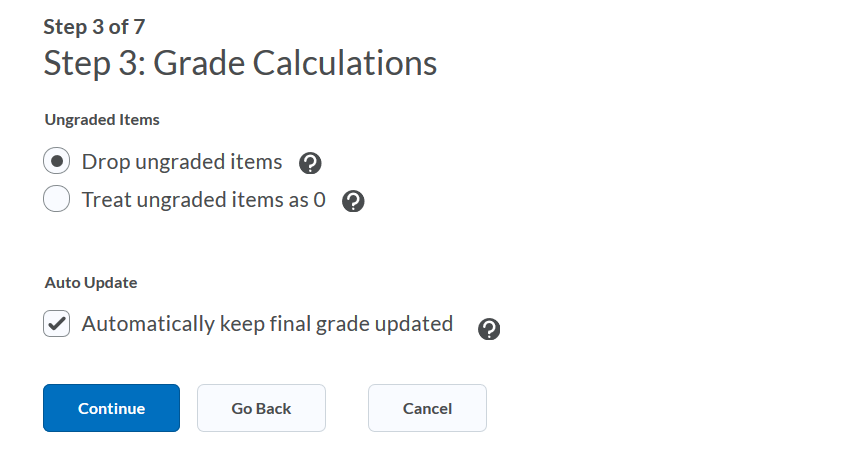
We recommend that you select Drop ungraded items. In the Drop ungraded items option students see their grades reflecting their progress. In other words, items that are ungraded are not used to calculate their final grade. But this can mean the final grade appears higher than it might otherwise be at the end of the course. If you choose, treat ungraded items as zero, this will result in grade items that don’t have a grade inputted, or counted as zero, in the final grade.
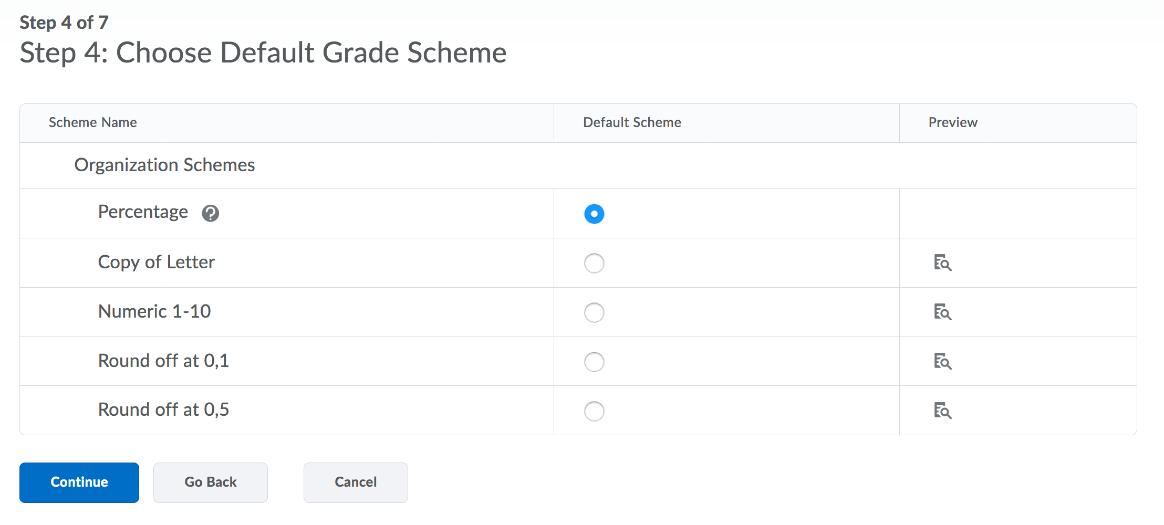
We recommend the use of the percentage system, as it is easiest to understand and set up. You can also choose other created schemes like Copy of Letter, Numeric, etc. Or you can choose a grading scheme you have previously created.
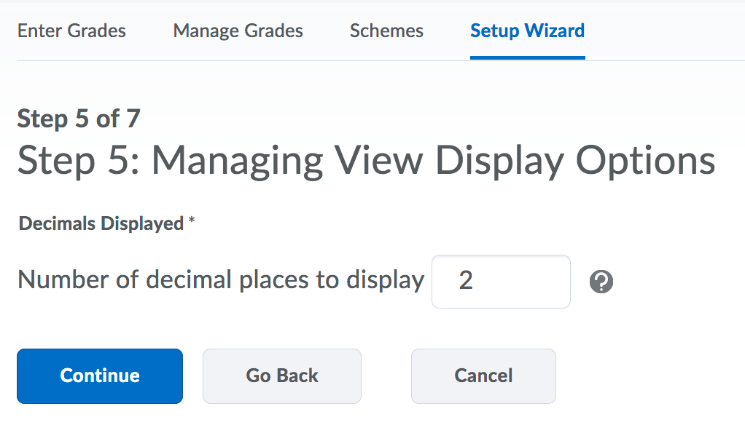
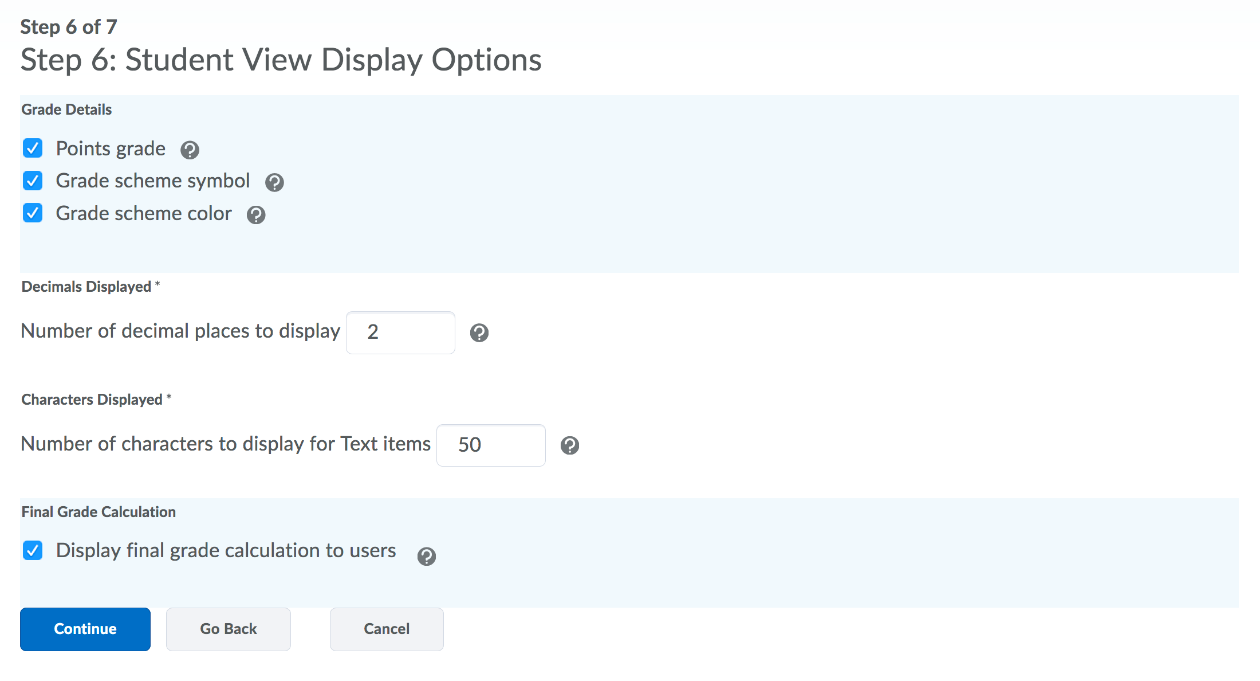
This setting controls how many decimals will be displayed to users grading a course.
These options show what the students see. We recommend to have these options turned on. You can click on the help icon (![]() ) to get more information about the options.
) to get more information about the options.
The final screen is a summary of your settings. Click on Finish. Once you have gone through the setup wizard you can now start with the grade entry.
You can always go through the setup wizard again or change settings by clicking on ⚙️ Settings at the top of the grades’ page. This will open all the same settings as you would see walking through the wizard, but dispersed into three tabs. The first tab contains the settings for your instructor view, the second tab contains the settings for the student view and the third tab contains the settings for the grade calculation.
You are now ready to create grade items and categories.