With Brightspace Quizzes you can test the students’ understanding of your course content or their prior knowledge. This page will guide you through the various settings for creating Quizzes, managing questions and a Question Library, navigating attempts, and processing results and feedback.
Read more about Grading Quizzes.
General Settings
To access quizzes, simply go to Course Admin and select Quizzes. The Quiz Management page will open. There, you can create new quizzes, manage your Question Library and check your quiz Statistics.
To create a new quiz:
- Click on New Quiz.
- Choose a Name for the quiz.
- Optionally, link the quiz to a grade item or create a grade item to include this quiz into the gradebook of the course .
- Optionally, set a Due Date (the last date and time at which students can submit the quiz without it receiving the tag ‘late’). Setting a due date is recommended. Doing so will create a calendar entry in the course schedule, so students see the deadline coming up.
- Optionally, add a Description.
- Add questions: Click on Add Existing or Create New. See Questions.
- Choose whether or not you want to make the assignment Visible for students. Do make sure you unhide the quiz from students, when they need to do the quiz.
- Optionally, set Availability Dates & Conditions.
- Optionally, set Timing & Display.
- Optionally, configure the Attempts & Completion details.
- Optionally, configure the Evaluation & Feedback.
- Click Save and Close.
After setting up your Brightspace Quiz, you can now add it to your Course Content.
- Go to Content in your course menu.
- Go to an existing Module or add a new module by clicking Add a module… at the bottom of the page.
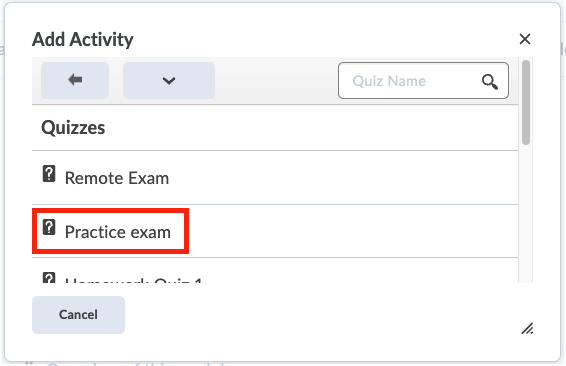
- Within the Module, select Existing Activities and then Quizzes.

- Select the quiz you want to add (in the screenshot ‘Practice exam’).
- Repeat step 3 and 4 in case of multiple quizzes.
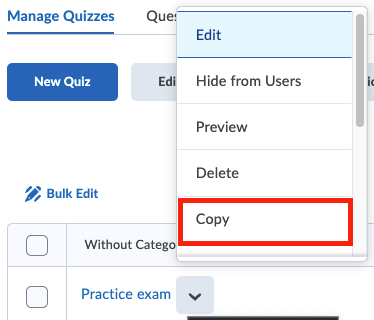
Lecturers are able to copy previously created quizzes and duplicate quizzes. This feature enables the lecturer to create similar quizzes quickly.
- Go to Course Admin and select Quizzes.
- Go to the dropdown menu next to the quiz you want to copy.
- Select Copy.
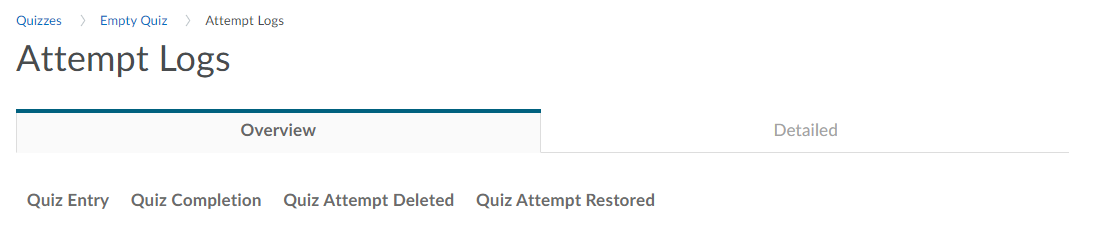
Lecturers can restore deleted quiz attempts for students from within a quiz using the Quiz Attempt log. The attempt logs can be accessed from the Quiz name drop-down menu and via the Grade Quiz area.
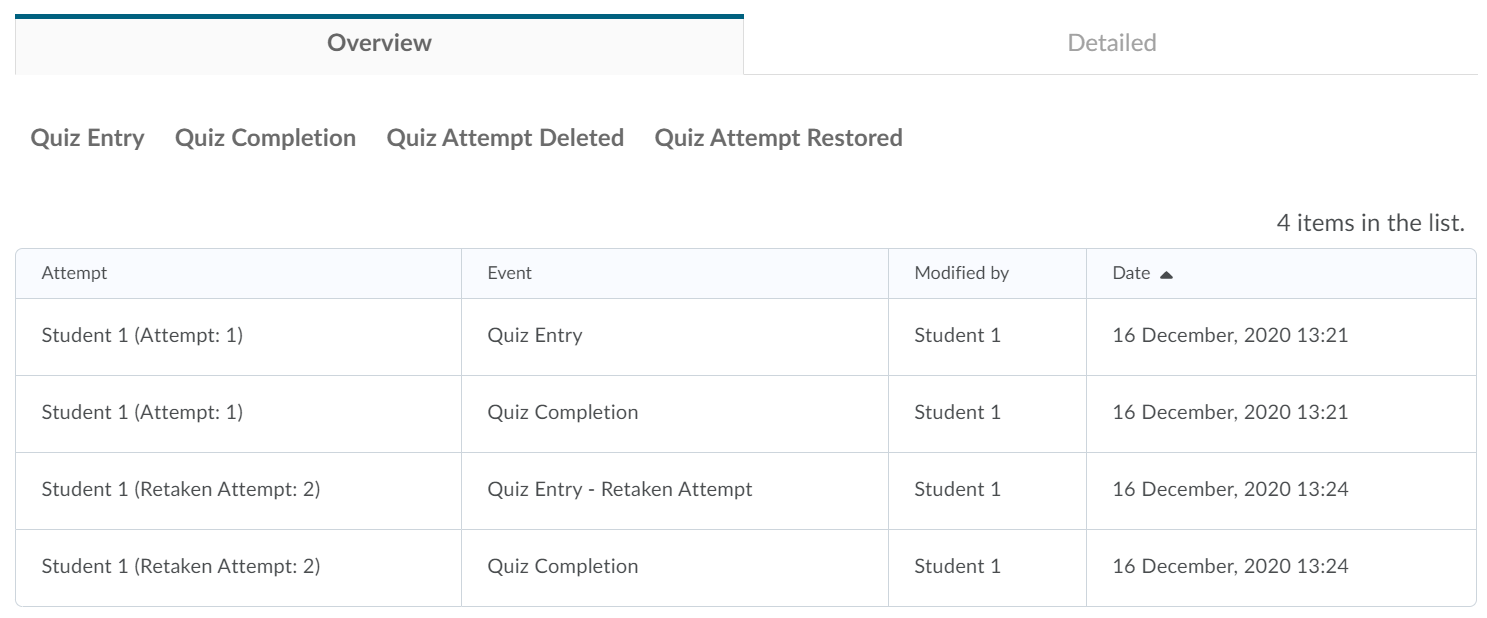
The Quiz Attempt log tracks quiz attempt submissions per user, in both an overview and detailed set of logs. The following actions are captured in the Overview:
- Attempt Started
- Attempt Submitted
- Attempt Deleted
- Attempt Restored
The Restore button appears when a quiz attempt is deleted for a user. The ability to see the Restore button next to deleted attempts is now controlled by the renamed Reset and Restore Attempts permission.
The Detailed Quiz Log captures the following actions:
- Quiz Entry and re-entry
- Response Save time
- Page Movement time
- Quiz confirmation screen / completion
Deleted quizzes can be restored in the Quizzes overview, which can be found through Course Admin > Quizzes. You can restore the quiz by going to More Actions and clicking Restore.
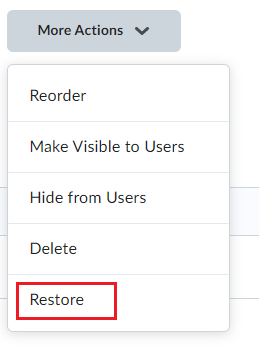
Instructors are then provided with a list of deleted quizzes of the course that indicates when they were deleted and by whom, along with a button to restore a selected quiz.
When restoring a quiz, the associated quiz attempts, statistics and scores are also restored. Links to grade items are not restored.
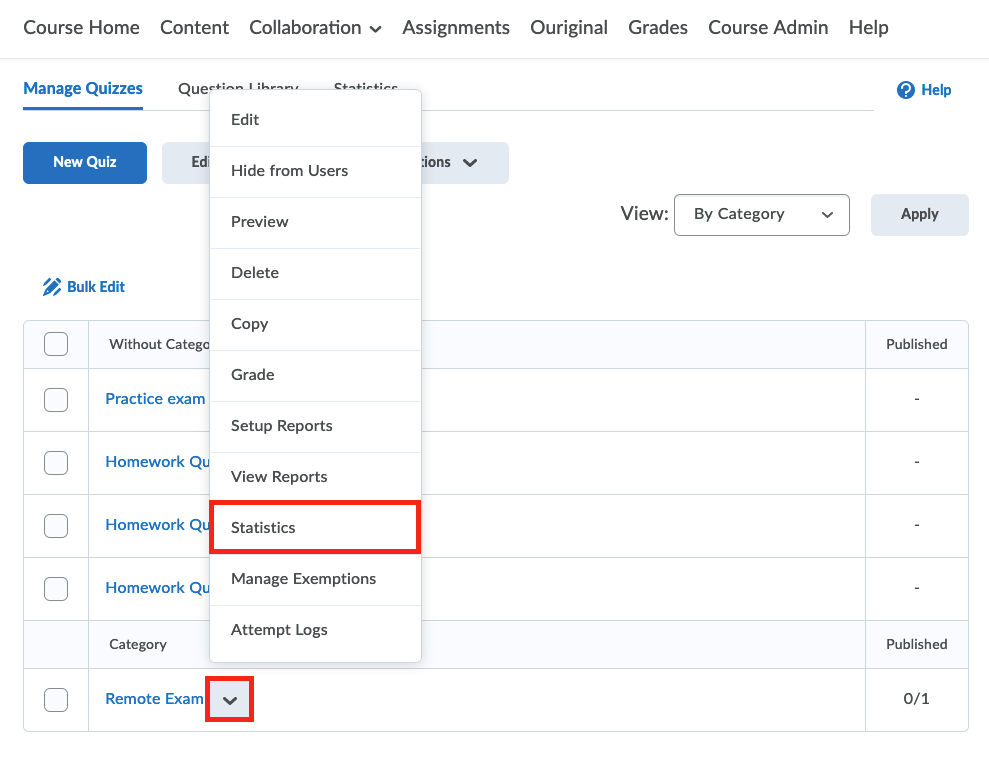
You can view the statistics of the quiz including User Stats, Question Stats and Question Details. This can be useful to find out how you can help your students to improve during the remainder of the course.
- Go to Course Admin
- Go to Quizzes
- Click on the Drop-down menu next to the quiz and choose Statistics or go tot he Statistics tab and select the right quiz
 The tabs User Stats and Question Stats show you the Class Average and the Standard Deviation. The Standard Deviation is calculated from the population standard deviation (Excel STDEV.P). With this method, sampling is not conducted when calculating statistics. The tab Question Stats also shows you the Discrimination Index of each question.
Under the tab Question Details you can find more detailed information. For example, how frequently each option was chosen in case of multiple choice questions.
Questions
The Questions section of the settings will allow you to create questions, manage questions, use a Question Library or import questions using a CSV template.
Create Questions:
- Click on Create New or Add and Create New, followed by New Question.
- You will then be provided with a list of the various question types, ranging from multiple choice to multi-short answers. Select the question you want to create and fill in the various settings provided in a new window.
For some question types, a preview on the left side of the Question editor is shown. - Click on the blue Save button when done. This blue Save button also gives the options to Save and New or Save and Copy by clicking on the chevron for the dropdown menu.
These options make the creation of successive questions or questions with a slight variance of the same question type easier.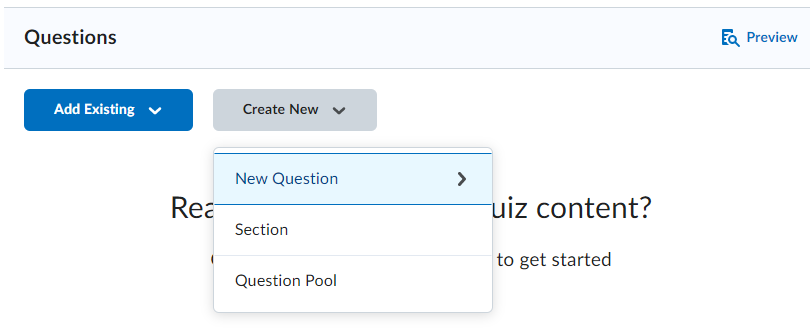
Once you’ve created Questions you can move and order them however you want and you can group questions into sections. These sections can be used to group topics, question types, difficulties or themes. These sections can also be used to group questions on pages to present to the students, see Paging options
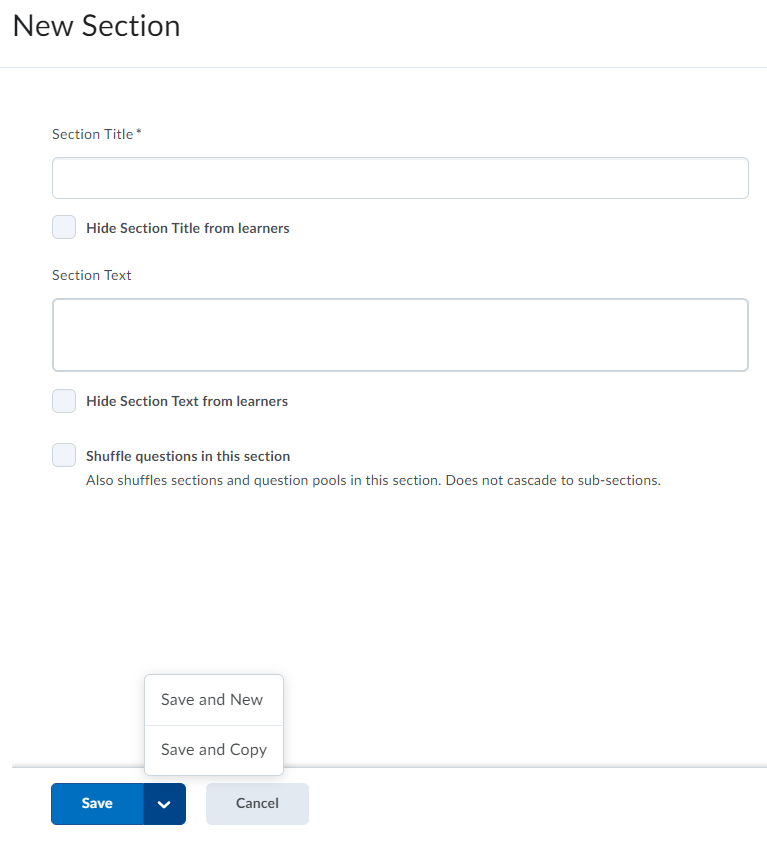
- To create a section go to Create New or, Add v and Create New, followed by Section.
- In the new window enter your preferred settings and click on the blue Save button when done. This again has the same Save and New or Save and Copy options as mentioned before.
- To move questions, click the checkbox in front of questions and then navigate to Move To. Then you’re provided with the options Top of the Quiz, Bottom of the Quiz or Section. Clicking on Section will reveal any sections you’ve created. Clicking on a specific will move the selected question(s) to that section.
- Another way to move questions is to drag them into place by clicking on the icon with 8 blocks in front of the question selection checkbox. This works similarly to moving modules in the course content. You can drag a question to a section to add the question to that section. You can also use this same method to move sections around.
For further information on how to use the Question Library please see our full page on creating questions and a question library here.
Availability Dates & Conditions
With these settings, you can choose your Start Date and your End Date with the respective times. The settings can be changed by clicking on the dates which open a calendar picker and will then also provide settings to change the starting/ending times once a date has been picked.
Do note that these settings dictate when a student can START a quiz. This means that a quiz with a window of, for example, 10:00 until 13:00 can be started at 12:59 with the full time limit remaining!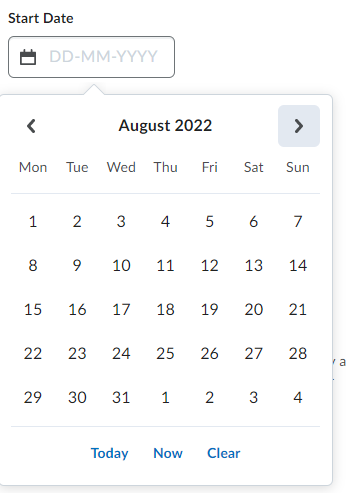
You can set restrictions on which students can access the quiz. You can use pre-existing release conditions or create a new one. These release conditions commonly refer to group membership, previously attained grades, or fulfilling a certain task within the Brightspace course (such as filling in a different quiz, or assignment, or visiting key content pieces in the course).
You can navigate the release conditions by clicking on the blue Add Release Condition text.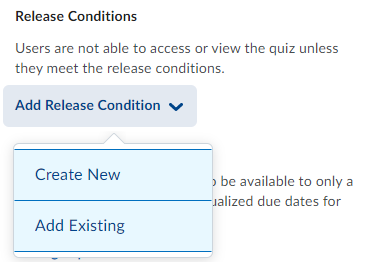
It is possible to create exceptions for students that, for example, are entitled to extra time. You can do create this by using Quiz Accommodations in the Classlist or Special Access. To access the special access settings click on the Manage Special Access text. This will open a window with all the settings related to Special Access. There you can set the type of special access, either giving different dates/timings and different attempts on an individual basis using Allow selected users special access to this quiz. The other option, Allow only users with special access to see this quiz, works similarly as a release condition in that only the people added to special access have access to the quiz.
You can restrict access to your quiz by adding a password in the password area. Only the students with access to the password will be able to access the quiz. This password then needs to be communicated to students via announcements, email or course content.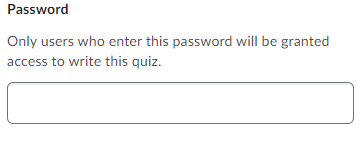
Timing & Display Options
The timing & display settings determine how long a student has to complete the quiz and how the quiz is presented to the students.
Do note that the time limit as set starts counting from the moment the student first starts the quiz. If the settings under ‘Start and End Date’ allow a starting window from 10:00 to 13:00 a quiz can be started at 12:59 with the full-time limit remaining!
The time limit can be accessed by clicking on Manage Timing. This will open a new window with the settings to set a recommended or enforced time limit, the duration, and whether the clock will be displayed to students during the quiz.
The following settings determine how the quiz is presented to students and which restrictions are placed for interactions with the quiz.
To change how many questions are presented on a quiz page you can change the paging setting in the dropdown menu under Paging. You can also choose to create pages based on sections there, which forces one page per section, allowing for the grouping of questions on a single page.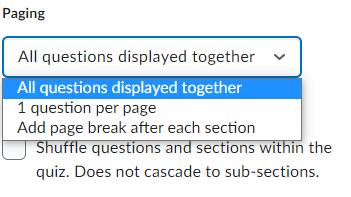
The various checkbox settings allow you to shuffle questions and limit the way students can interact with the quiz with checkboxes for Hints and Disabling Brightspace communication features.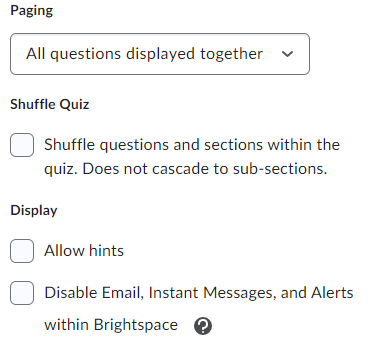
The final settings in the Timing & Display area are the Header and Footer where you can place text that will show up to students on top or at the bottom of each quiz page. You can use these, for example, to place reminders, instructions, and suggestions.
Attempts & Completion
These settings manage the amount of attempts students in general have and notification settings for teaching staff.
The attempts can be set by clicking on Manage Attempts. This will open a window with settings to change the number of attempts allowed by students and how the attempts relate to the grade calculation. These settings can be changed using the respective dropdown menus.
The Category settings will place this quiz under the categories as can be seen on the Manage Quizzes overview page with all the quizzes in a course. The category can be set using the dropdown menu. Choosing the New category option will open a small window with a text box where you can enter the name of a new category.
The Notification Email setting allows you to provide one or multiple email addresses where a notification will be sent following the completion of a quiz by students. This can be useful in case the completion is very urgent and important or if you want to be notified because a quiz is rarely taken or resides in a course you do not frequently visit.
Evaluation & Feedback
For more information on how to manually and automatically grade quizzes please visit the dedicated page on Grading Quizzes.
The evaluation and feedback settings allow you to determine if and how students receive their evaluation results and feedback.
The first checkbox allows you to auto-publish attempt results immediately upon completion. This is the quickest way of showing students how they performed on the quiz.
The Evaluation & Feedback settings allow you to determine if and how students receive their evaluation results and feedback.
The first checkbox allows you to auto-publish attempt results immediately upon completion. This is the quickest way of showing students how they performed on the quiz.
The second checkbox will allow the quiz results to immediately be synchronized with the Gradebook if a grade item was created for the quiz in the general quiz settings. If this option is grey, you have not properly set a grade item and this synchronization will therefore not occur.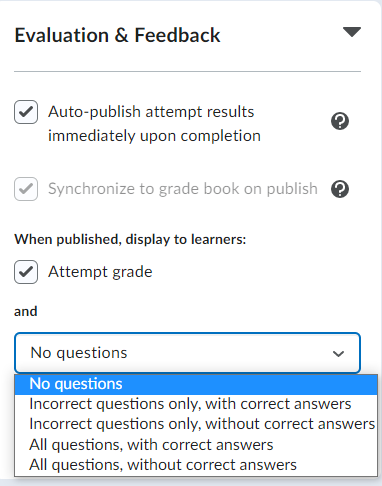
You can then choose to also show the grade by checking the Attempt grade checkbox. This is then followed by the setting that determines what students receive as evaluation. The dropdown menu has various options to hide questions and answers depending if they were correctly answered or not.
To customize the way the results are presented to students you can click on the blue Customize Quiz Results Displays. This will open a window where you can set what students will see upon their return to the quiz attempt or upon completion (depending on the earlier mentioned setting for immediate release).
FAQ
This depends on the chosen Quiz Results Display. The evaluation and feedback settings allow you to determine if and how students receive their evaluation results and feedback. You can choose to display questions, answers and/or learner’s responses. You can customize the view by going to Customize Quiz Results Display > Edit View under Evaluation & Feedback in the relevant quiz.
How to use this to improve your course
- It is well worth the time to build a strong question library. Take note of any questions that you come up with during the year. This will take some pressure off of you when you need to set quizzes for your students.
- You can preview a quiz by selecting Preview from quiz the dropdown menu. Click Start Quiz to preview the quiz.